Hello! Since you have asked me to publish more articles with a more basic level, I have decided to do two articles per week, one more advanced and one more basic. Today we start with how to install Linux (Debian). If you are interested in installing CentOS you can see how to do it here.
Let’s get started:
The installation starts from the installation media. This installation media can be a pendrive, a SD card or a CD/DVD created from the ISO image that can be downloaded at https://www.debian.org/CD/netinst/.
The first step after booting from the chosen media is to select the type of installation. This can be done using a console installer or a graphical installer. We will choose the graphical installer for its simplicity.
")
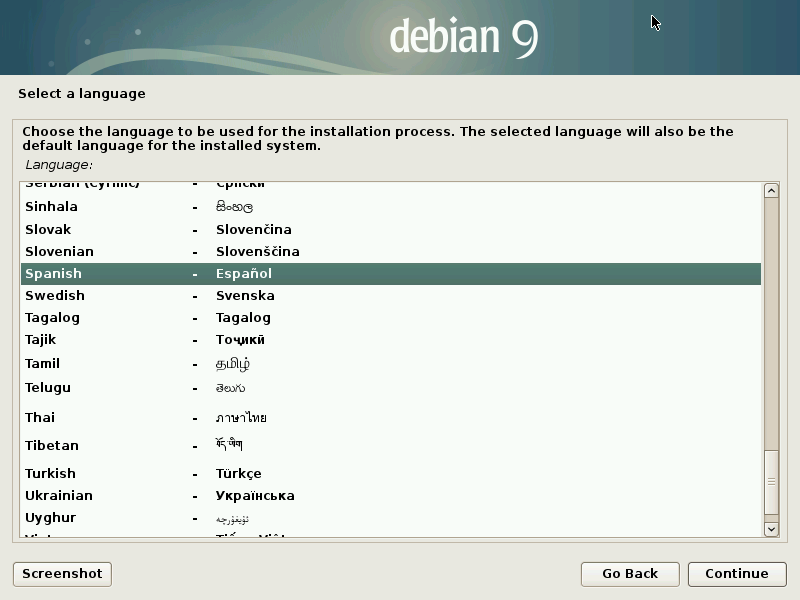
The next step is to select the language, we can do it using the keyboard (the up and down arrows and pressing “enter” to select the desired option) or using the mouse.
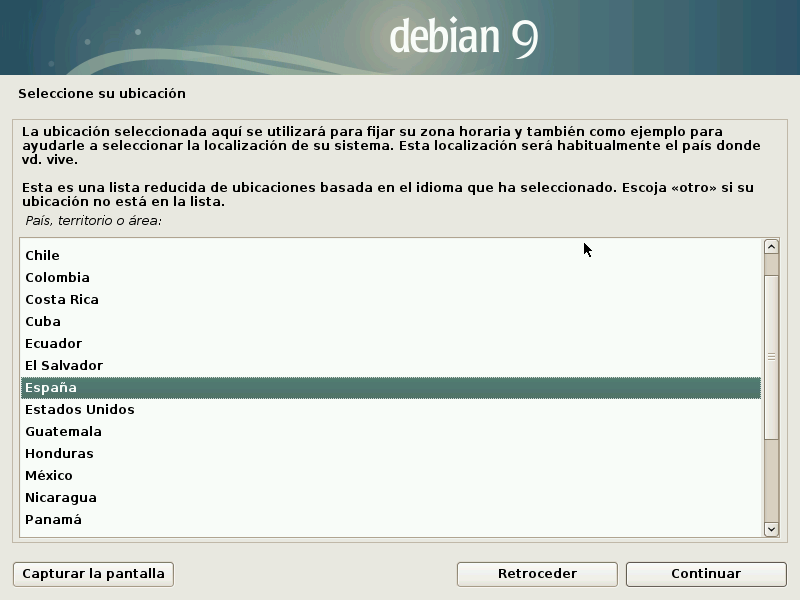
Then we will do the same with the location:
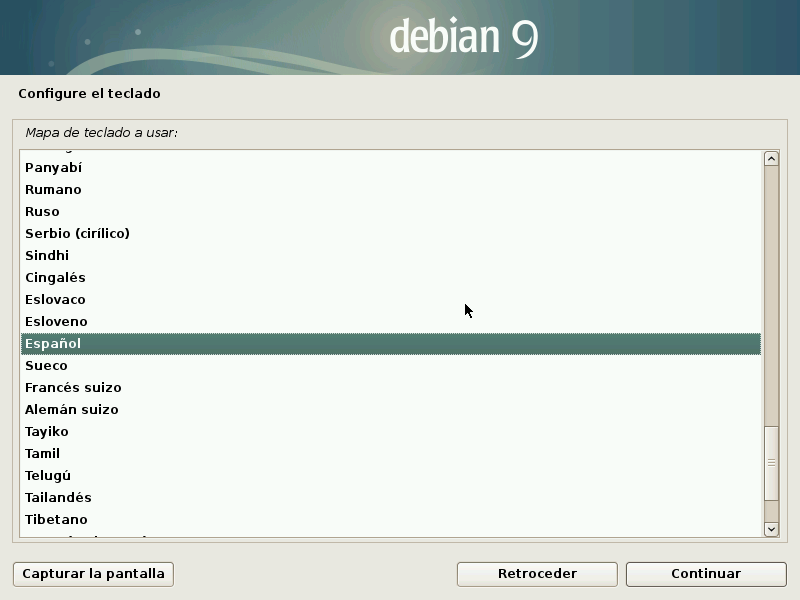
And we will also select the system language in the same way.
We have to enter the host name of the new machine:

In the next step you have to enter the network domain if you belong to one. It is likely that we do not have any and we have to leave it blank (this is the most common) or that we are in a managed network (in this case we must consult the network administrator):

After entering these data and clicking continue, the network configuration will start. If a DHCP server is enabled on the network it will auto-configure itself, otherwise you will have to enter the parameters by hand. It is most common to have a DHCP server in both home and corporate networks:
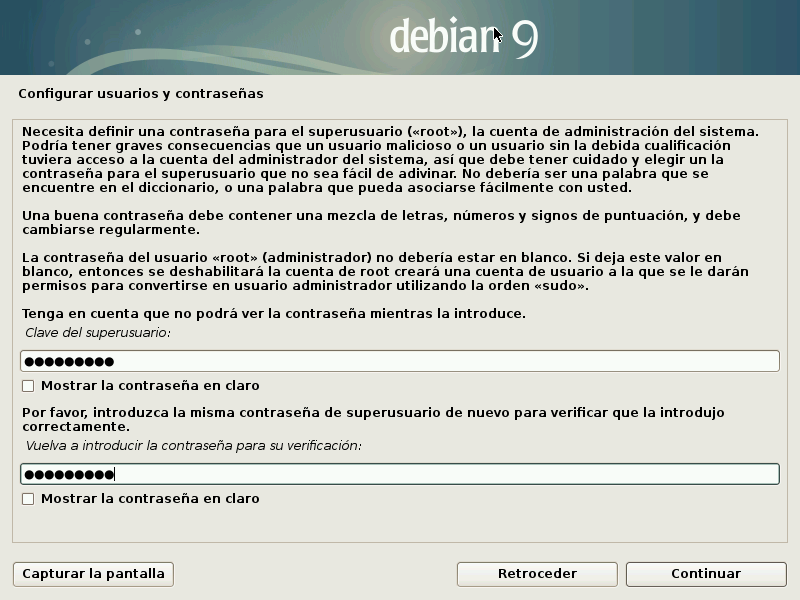
In the next step you have to enter the password that the “root” user will have, it is important to remember this password.
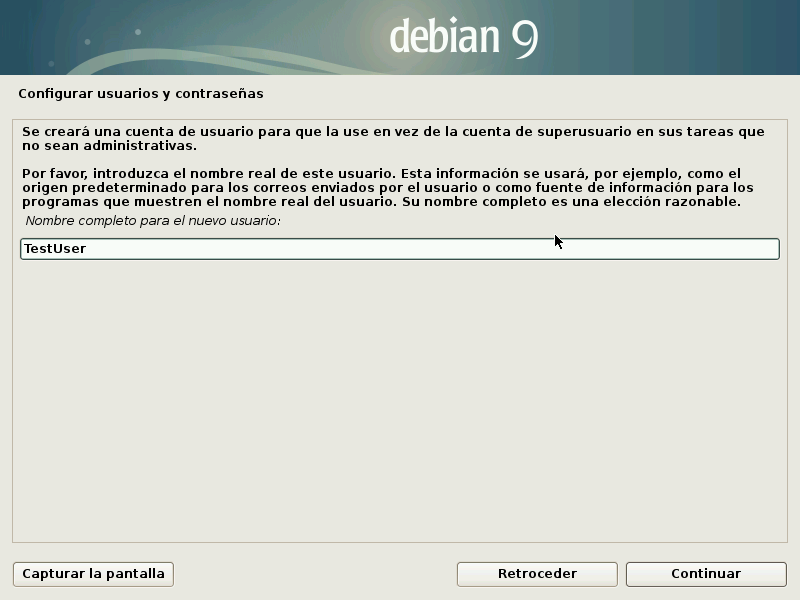
After entering the root password, the installer will ask you to enter a new user. If we are going to use a graphical system we will have to enter a user to avoid problems. However, if the system will be running in text mode, this step can be omitted.
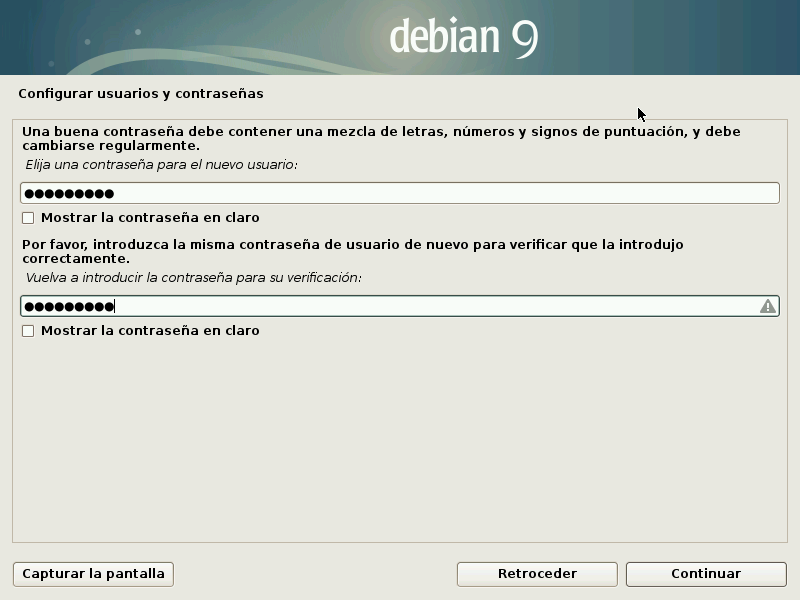
We will also have to enter the password of the new user (only in case we have created it).
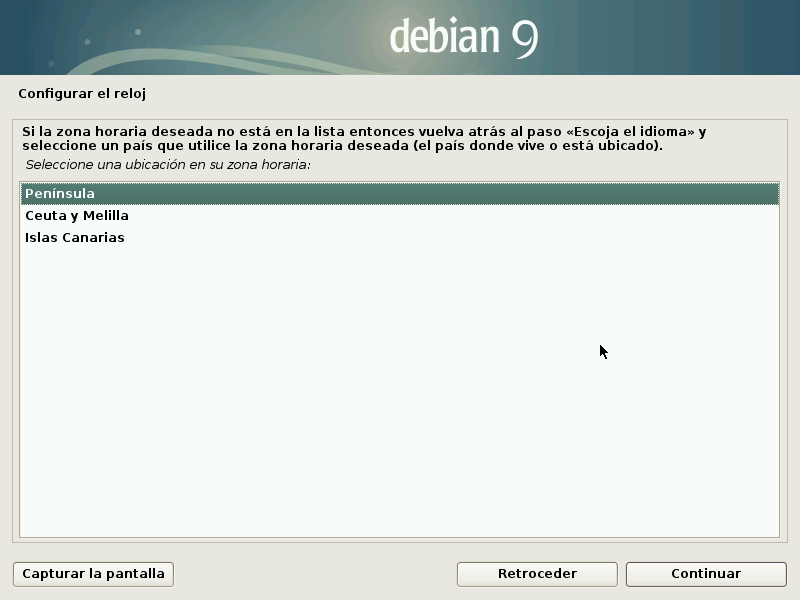
Next we will select the location of our device. This information does not have to be real but it will help with the system configuration:
There are several ways to partition a disk, these will be explained in the book for linux operators as they are more advanced concepts. In this book we will configure it in the simplest way, following the guided partitioning.
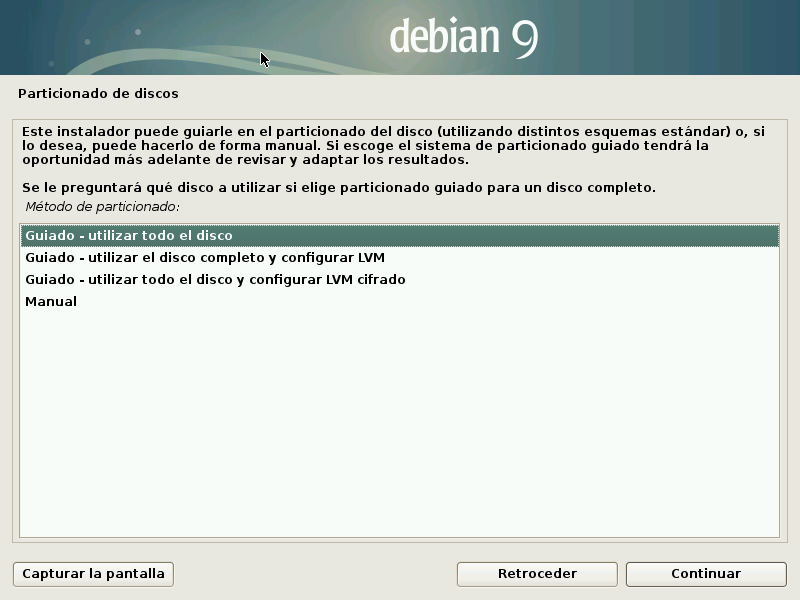
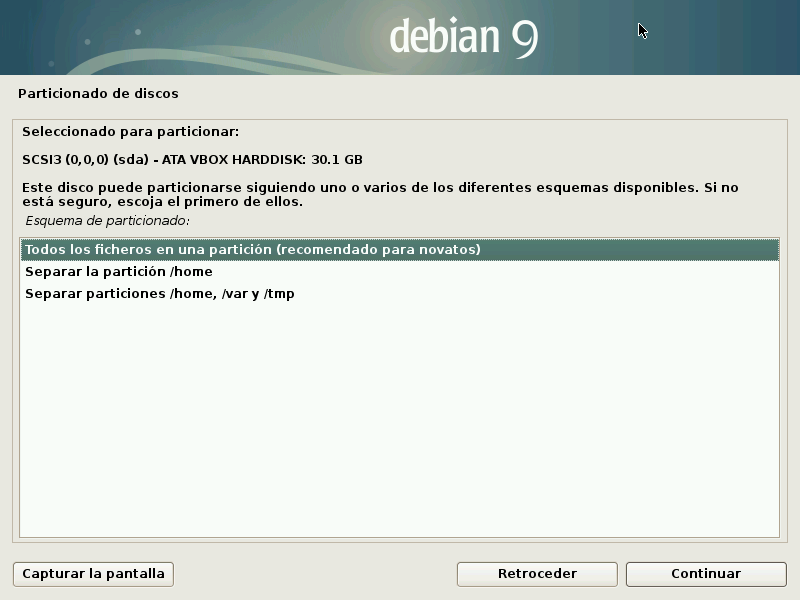
We select the disk, we must be careful with the disk that we select since all the content of the disk will be erased.

We choose the simplest mode, everything will be on the same disk:
And after configuring the partition table, the only thing left to do is to finish partitioning:

After that, we apply the changes to the disk:

And partitioning begins:

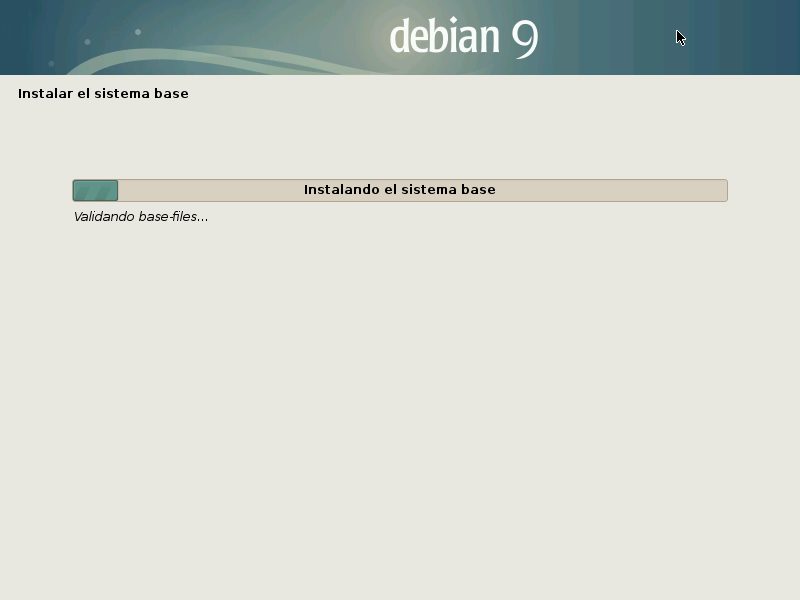
The installation of the base system will then begin:
After installing the base system, we will be asked for another disk with the software to install more applications, we will say no and continue:

We configure the language of the package manager:
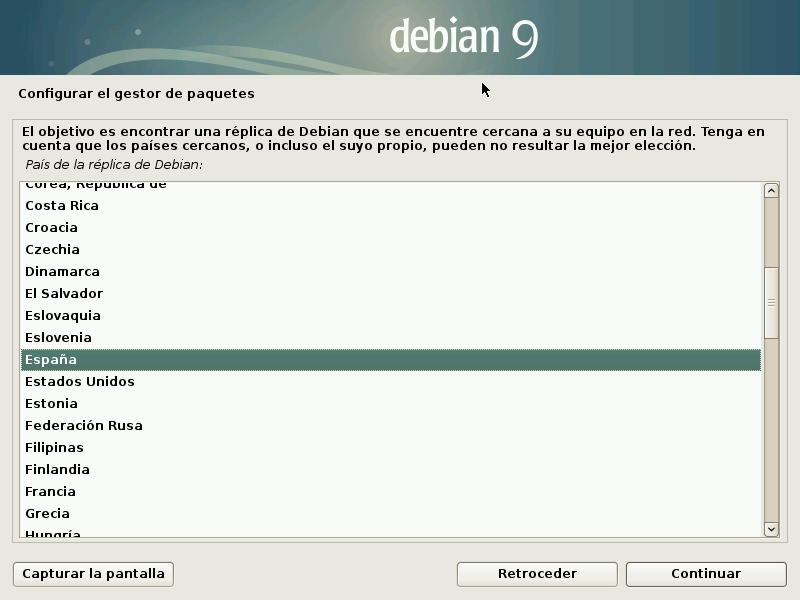
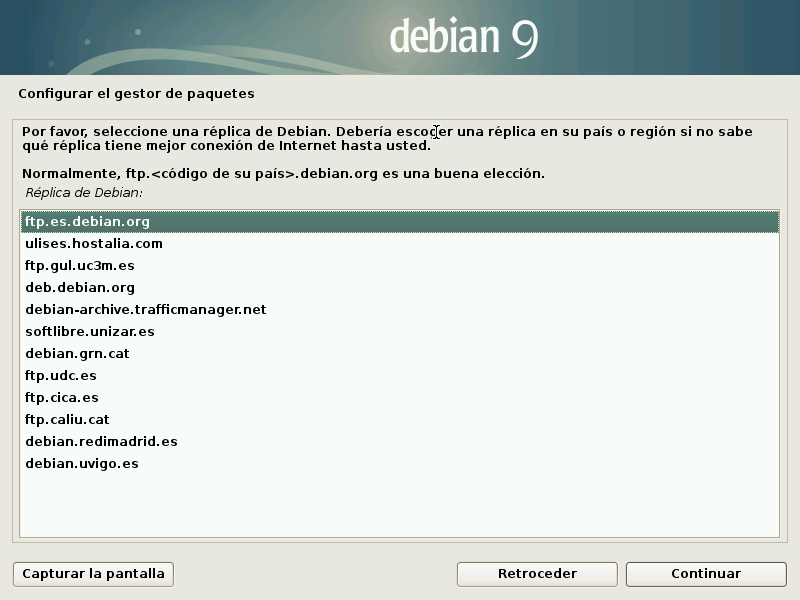
And from the source from where the software will be downloaded:
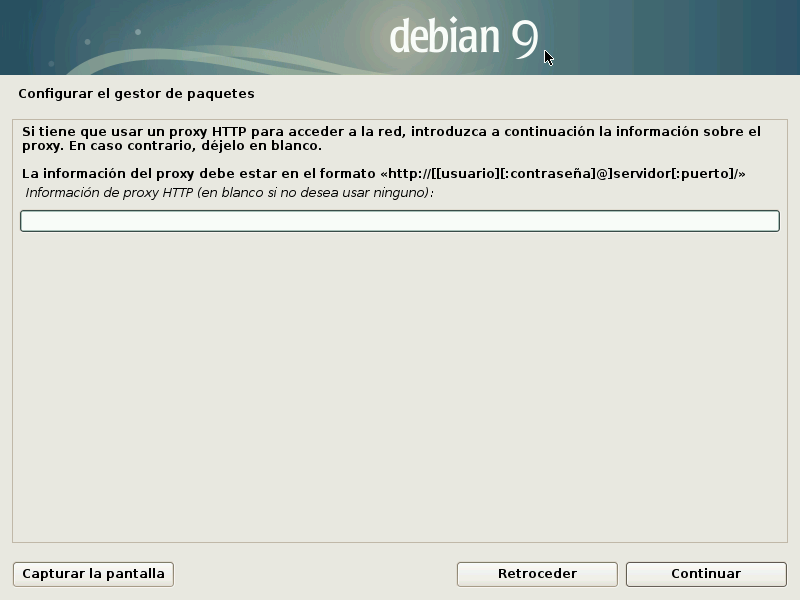
If we have proxy configured, we introduce it:
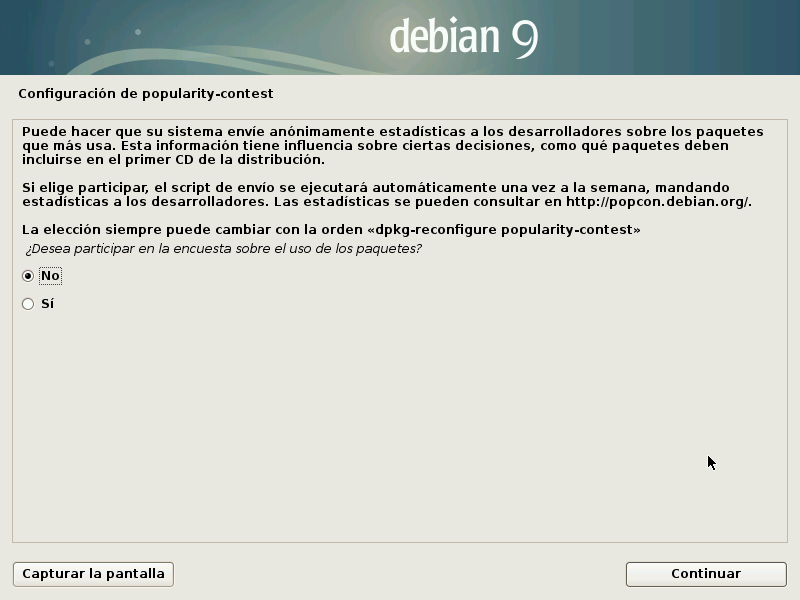
We select that we do not wish to participate in the survey:
And begins the selection of the additional software to install, if we want to install a server or a system with CLI environment or text only, we only have to uncheck the desktop environment options (Gnome, XFCE, etc):
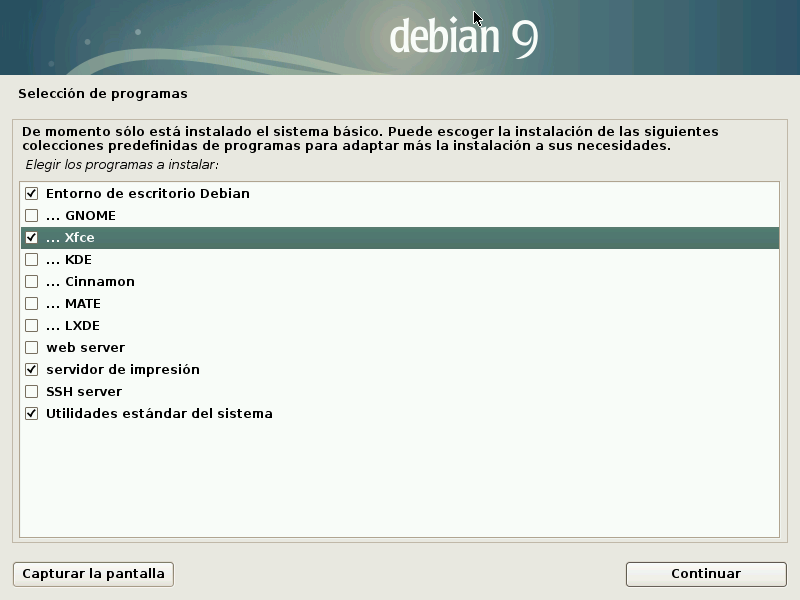
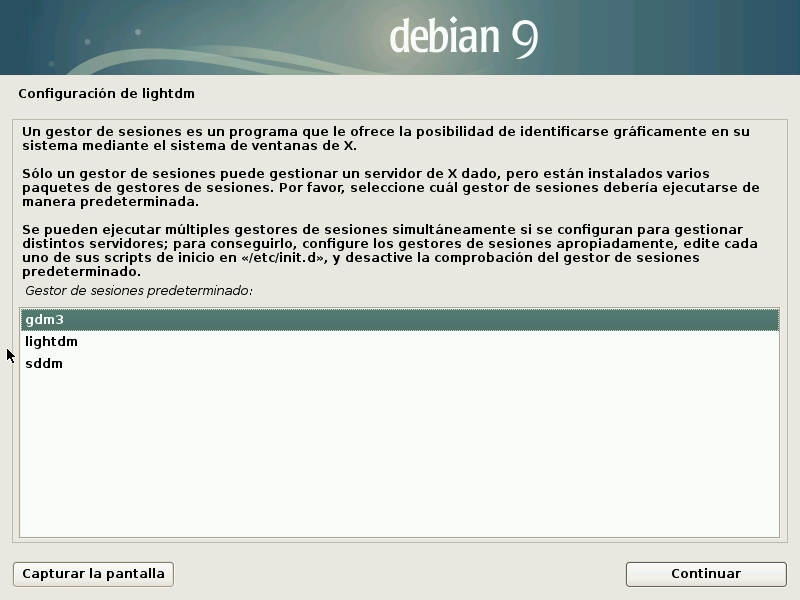
If you have selected more than one graphical environment system, the installer will ask you which one you want by default :to manage the sessions:
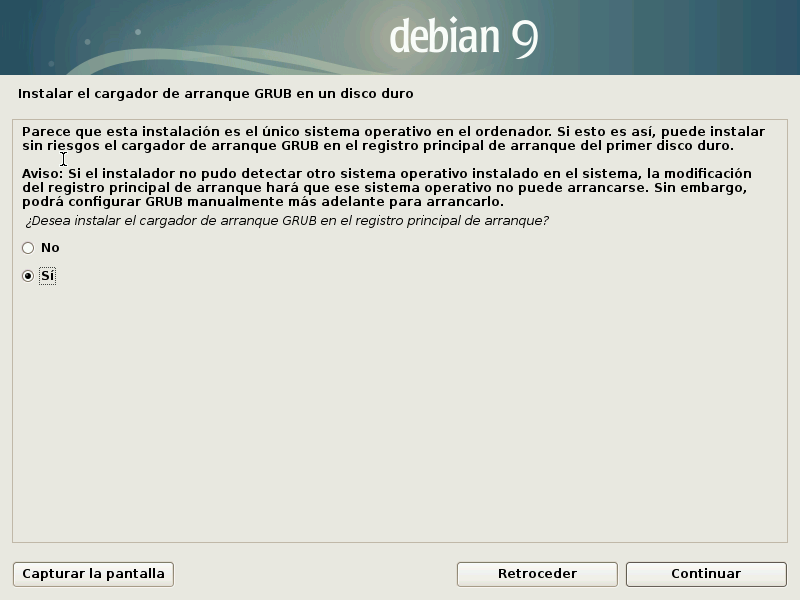
After installing the additional software, we only have to configure the boot loader, we must select where we want to install Grub (our linux boot loader), we will tell it to install it in the Master Boot Records (MBR):
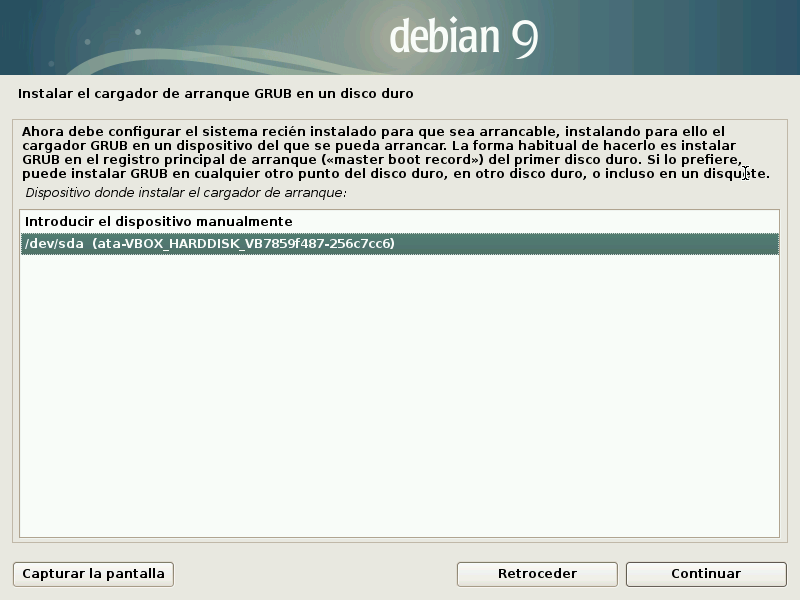
And select the device where the Grub will be saved:
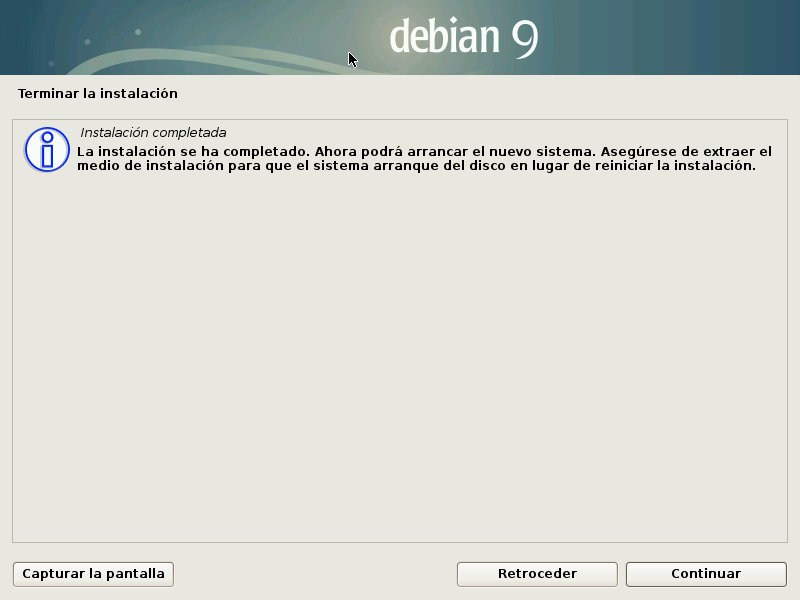
Once installed, you will be prompted to remove the installation media and reboot:
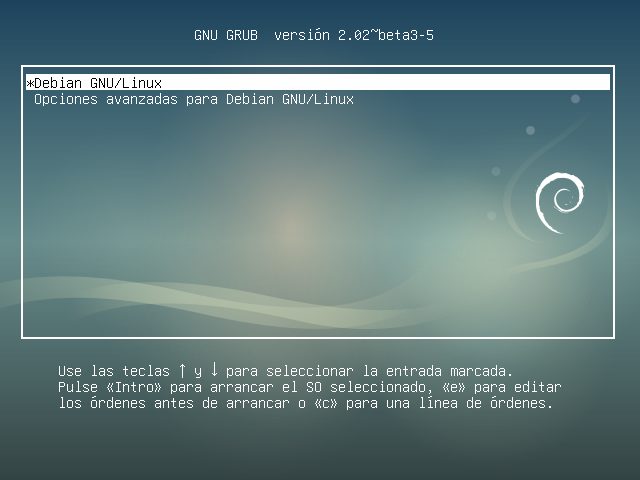
After rebooting we can see how it already boots from our new system:
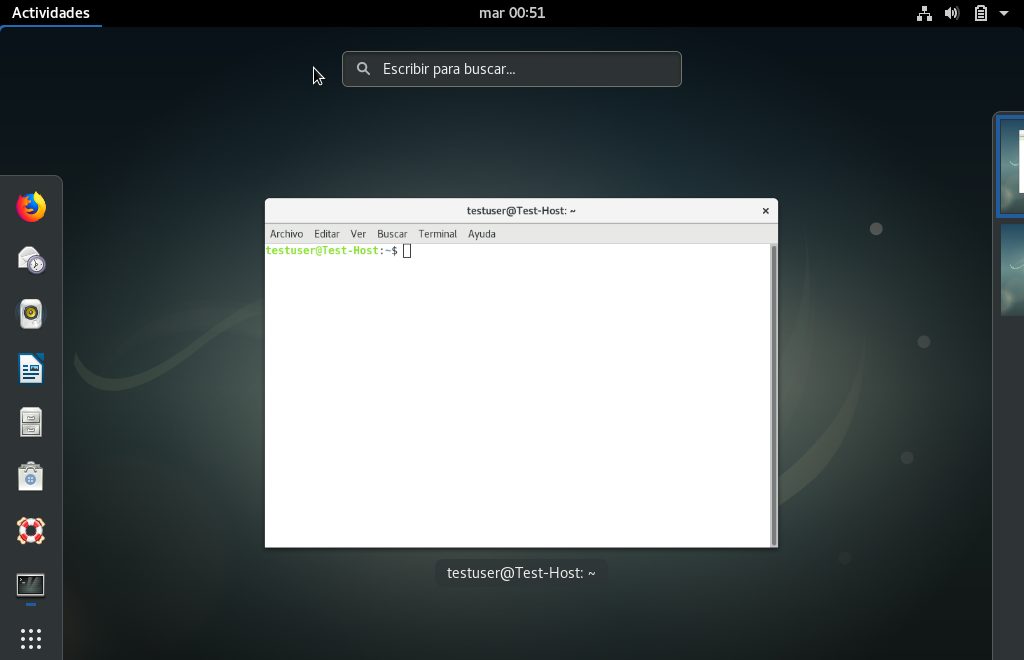
After following these steps we already have a fully functional system installed, in this case with Gnome desktop environment.
If you are starting from scratch and want to learn Linux you can purchase our book here.
This has been all about how to install Linux (Debian). Next week, we will start with the basic use of this system.
If you liked it, please share the article on your social networks and/or comment.
See you soon!