Tabla de contenido
Hello! Today we expose 4 things you didn’t know about GRUB useful that you didn’t know. With these four points you will be able to solve some of the most common problems. Let’s get started:
1. New entries can be added from other systems on your hard disk.
When you install Linux on a machine with multiple operating systems, sometimes these other systems are not detected. This can be solved by adding the GRUB menu entry of the operating system that is not listed.

In this case there is an entry for the Windows system under the Linux entries. If we want to do this we only have to do one thing, insert the following in the file “/boot/grub/grub.cfg”:
### BEGIN /etc/grub.d/30_os-prober ###
menuentry 'Windows 10 (en /dev/sdb1)' --class windows --class os $menuentry_id_option 'osprober-chain-7EA0E3B659836131' {
	insmod part_msdos
	insmod ntfs
	set root='hd1,msdos1'
	if [ x$feature_platform_search_hint = xy ]; then
	  search --no-floppy --fs-uuid --set=root --hint-bios=hd1,msdos1 --hint-efi=hd1,msdos1 --hint-baremetal=ahci1,msdos1  7EA0E3B659836131
	else
	  search --no-floppy --fs-uuid --set=root 7EA0E3B659836131
	fi
	parttool ${root} hidden-
	drivemap -s (hd0) ${root}
	chainloader +1
}
Where you have to define the disk (in this case it was /dev/sdb1) and you have to define the UUID of the disk (sdb1 in this case has 7EA0E3B659836131), also you have to define the disk number and partition, for example “hd1,msdos1”, where hd1 is disk 2 (starts from hd0), and msdos1 is partition 1 of the disk.

You can navigate and interact with the system files from grub by pressing the “e” key in the GRUB menu before the system loads.
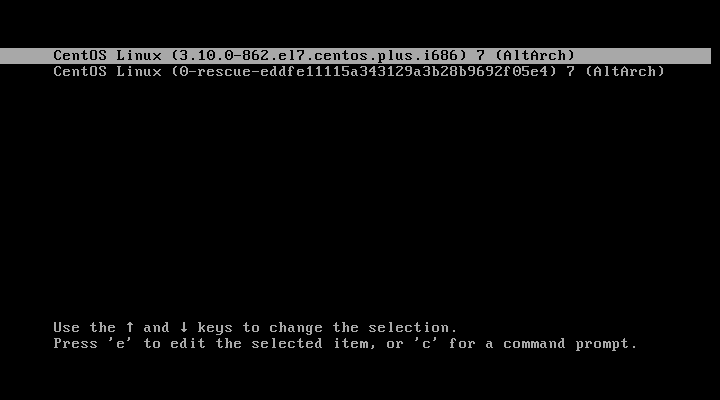
Once the “e” key is pressed, the GRUB menu entries are displayed:
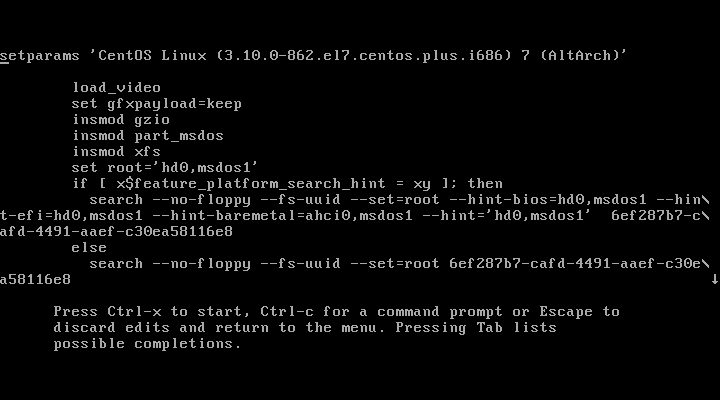
Then press “F2”:
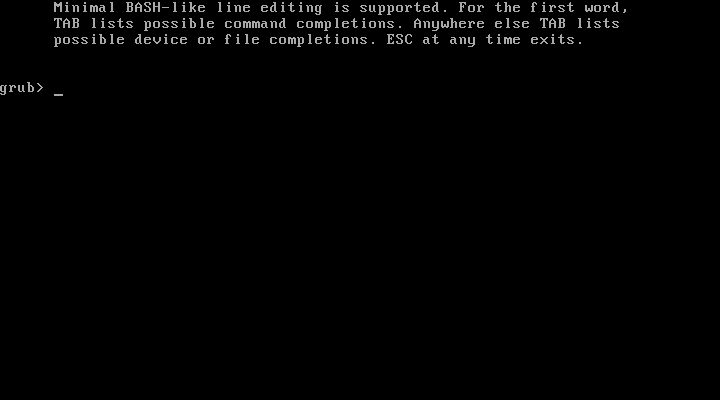
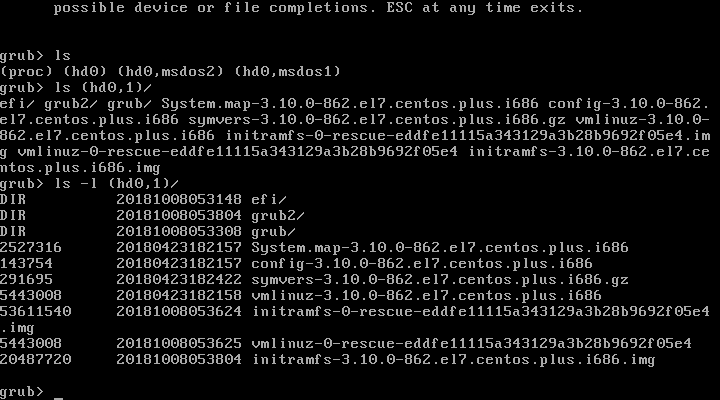
You can navigate through the system files (in this case it is LVM and that is why you can only see /boot when doing ls). The commands that allow us to move through the file system from the GRUB console are:
- ls: Allows us to list the contents in the same way as in a unix/linux system. You can also use “ls -al” or “ls -l”, if used without indicating the directory it will list the available disks and their partitions for example: (hd0) (hd0,1) (hd0,2). If you indicate the disk or a partition followed by “/”, for example “ls -l (hd0,1)/” it will list the content as you can see in the previous image.
- cat file: Allows you to read a file as you would on a unix/linux system.
Unfortunately it is not possible to edit files from this console, but you can boot the system choosing partition, kernel etc (although it is not in the menu) and edit it once the system is booted.
3. GRUB can be password-protected
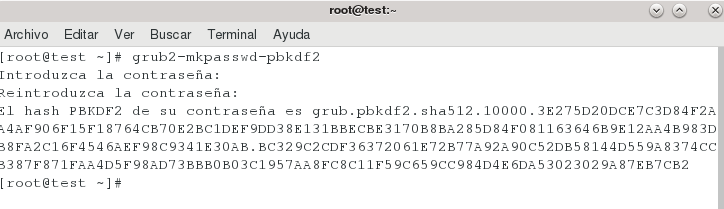
To secure the GRUB menu in RHEL/Centos 7 & 7.1 the first thing to do is to generate the encrypted password with the command “grub2-mkpasswd-pbkdf2” as you can see in:
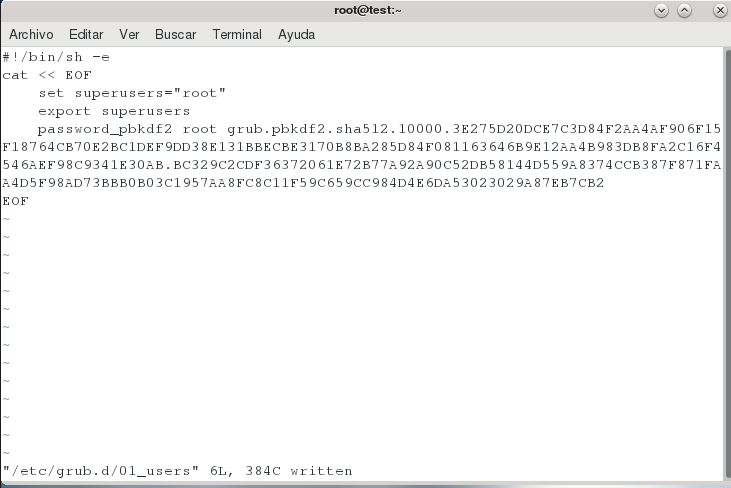
To secure the boot you must enter the following in the file: “/etc/grub2/01_users”.
set superusers=”user
password_pbkdf2 john grub.pbkdf2.sha512.EL-HASH-DEL-RESULT-ANTERIOR
This time we will set the root user with the above hash:
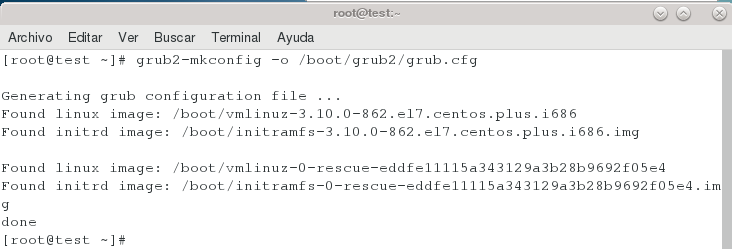
After doing this, run “grub2-mkconfig -o /boot/grub2/grub.cfg”.
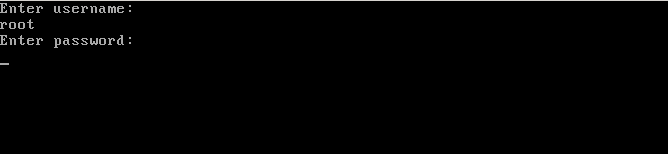
Now we restart and press the “e” key to enter the GRUB command line, we will see that it asks for a password:
In case the system is RHEL/Centos 7.2 the process changes a bit, first, run the following commands as “root”:
- “grub2-setpassword”: Enter the password and copy the resulting hash.
- The Hash for the created password has to be entered in /boot/grub/user.cfg and the user “root” is defined in /boot/grub2/grub.cfg.
- Run grub2-mkconfig -o /boot/grub2/grub.cfg
- Reboot and check that it asks for a password
In case the system is RHEL/Centos 5 or 6 the process also changes:
- “grub-md5-crypt: Enter the password and copy the resulting hash.
- Open “/boot/grub/grub.con” and enter in the boot line: password -md5 “HASH CREATED”.
- Reboot and check that it asks for a password
4. Many of the boot problems can be solved from within GRUB
Sometimes a system upgrade, software installation or a specific change can “break” the GRUB boot. This can usually be solved by doing boot tests from the grub CLI, before getting to boot and modifying the menu from the system.
As mentioned before, from the GRUB CLI you can list the disks and partitions with the “ls ” command:
grub> ls
(hd0) (hd0,msdos2) (hd0,msdos1)
And by passing the disk and partition followed by “/” as a parameter to the ls command, you can list the files on the partition
grub> ls (hd0,1)/
lost+found/ bin/ boot/ cdrom/ dev/ etc/ home/ lib/
lib64/ media/ mnt/ opt/ proc/ root/ run/ sbin/
srv/ sys/ tmp/ usr/ var/ vmlinuz vmlinuz.old
initrd.img initrd.img.old
We can see the file that indicates the operating system in a linux, this is useful if we have several linux systems to boot, to identify the system:
grub> cat (hd0,1)/etc/issue
Ubuntu 18.04 LTS \n \l
Booting from GRUB CLI:
The first thing is to verify which versions kernel, vmlinux and initrd.img, to boot correctly these three files have to be of the same version. Once the version is chosen, we set the root in the corresponding disk and partition (set root=xxx). Then we set the linux kernel with “linux /boot/vmlinuzXXX root=/dev/YYYYY” where XXX is the version and YYY is the disk and partition that will have the root of the system. We also set the initrd.img with “initrd /boot/initrd.imgXXX”. Now we only have to boot with these parameters using the “boot” command:
grub> set root=(hd0,1)
grub> linux /boot/vmlinuz-3.13.0-29-generic root=/dev/sda1
grub> initrd /boot/initrd.img-3.13.0-29-generic
grub> boot
To see the available versions of the kernel and initrd files just run ls -l on the system root and /boot:
$ ls -l (hd0,1)/
vmlinuz -> boot/vmlinuz-3.13.0-29-generic
initrd.img -> boot/initrd.img-3.13.0-29-generic
To start in rescue mode:
grub> set root=(hd0,1)
grub> linux /vmlinuz root=/dev/sda1
grub> initrd /initrd.img
grub> boot
Booting From grub-rescue>
If you are in the rescue GRUB the commands are different, and you have to load the normal.mod and linux.mod modules:
grub rescue> set prefix=(hd0,1)/boot/grub
grub rescue> set root=(hd0,1)
grub rescue> insmod normal
grub rescue> normal
grub rescue> insmod linux
grub rescue> linux /boot/vmlinuz-3.13.0-29-generic root=/dev/sda1
grub rescue> initrd /boot/initrd.img-3.13.0-29-generic
grub rescue> boot
And with this we could now access the system to correct the GRUB boot and make it load the appropriate versions.
That’s all for today.
If you liked it share on your social networks and/or leave a comment.
See you soon!