Tabla de contenido
Hello! Today I bring the solution to a problem that you may have at some point in some linux system that you manage: How to reset the password to a linux system.
Remember that if you like these articles you can share them on your social networks and / or comment on the publication or in the same article.
We have published a more recent post, about this, it’s about how to change grub’s root password
Let’s get started!
If you have lost root access to the system but you have access to a TTY (administration console or physical access to the PC or server) do not despair. You can reset the password from a Live CD. It is very advisable to do it from the Live CD of the installed system, that is to say, if it is CentOS, with the CentOS live CD, and if it is Debian, with the Debian one. This is because there may be differences in the password hash when changing distribution.
Distribution and Live CD
In this case we are going to do it on a CentOS 7.5 system with its respective Live CD. The first thing we are going to do is to boot from the LiveCD:
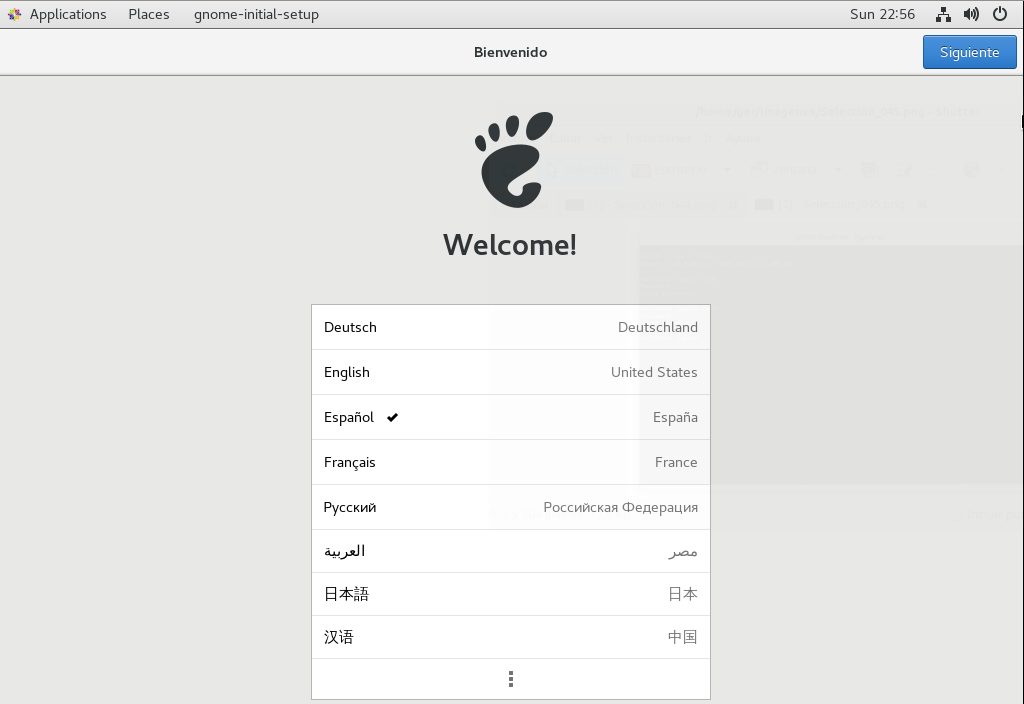
You have to follow the initial wizard, in this case it is the initial wizard of GNOME, in other distributions there is no initial wizard.
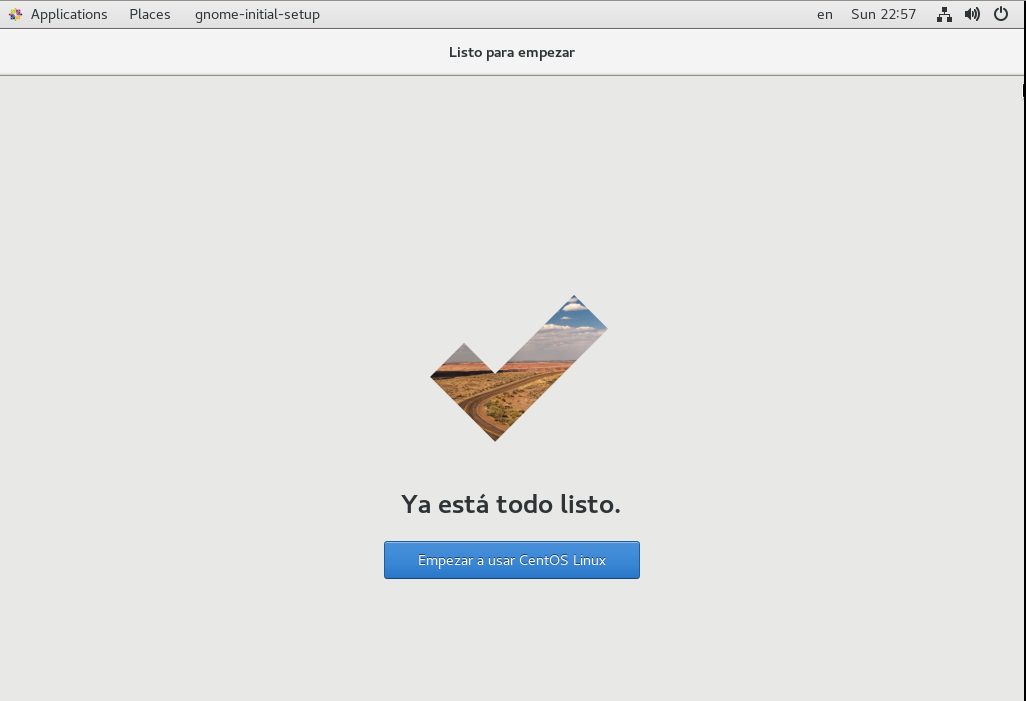
Once the initial wizard has been followed, the system is accessed (the desktop will load). From there we load a terminal:
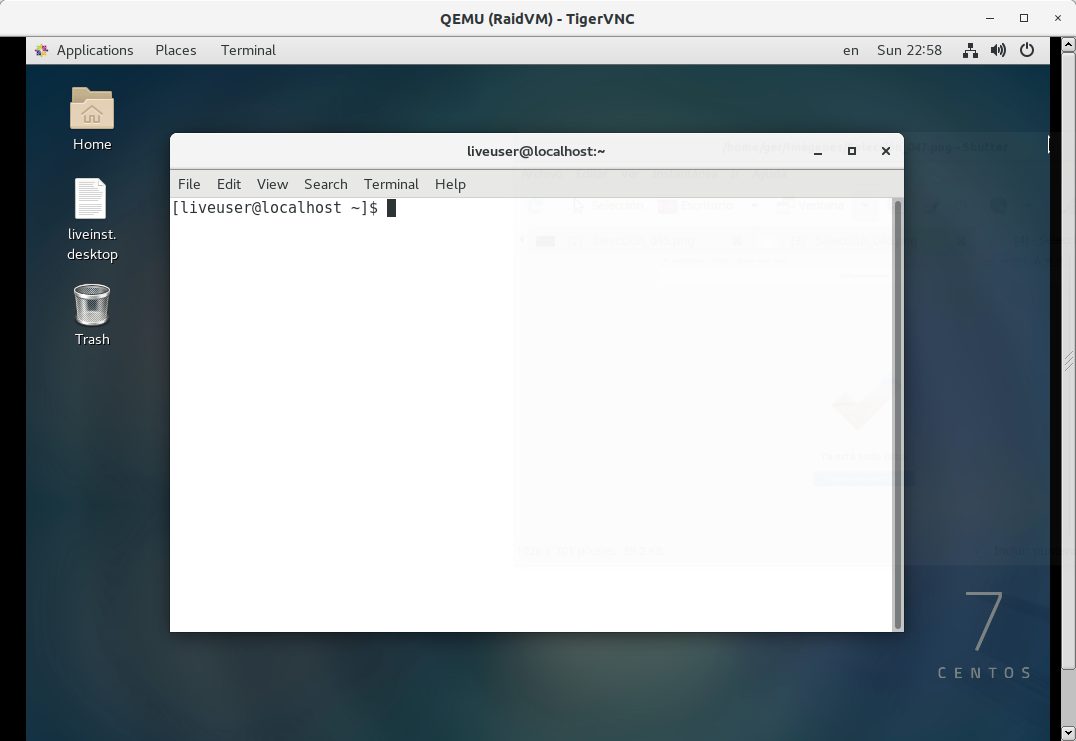
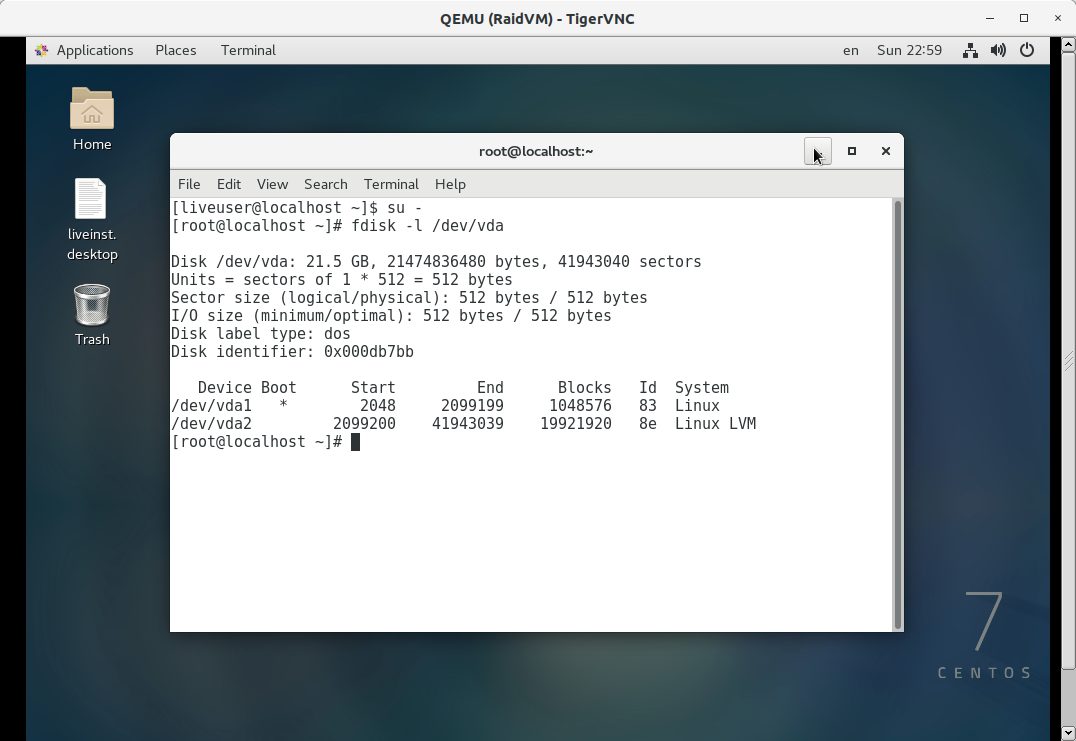
We have to become root by executing “su -” or “sudo bash”:
Getting down to business
In the previous image we can also see that there are two partitions in the vda device in case it is not a virtual device, the disk is usually sda we can see it by running fdisk -l without further parameters. As you can see in the image the second partition is LVM. Everything indicates that the first partition is /boot, let’s mount it to verify it:
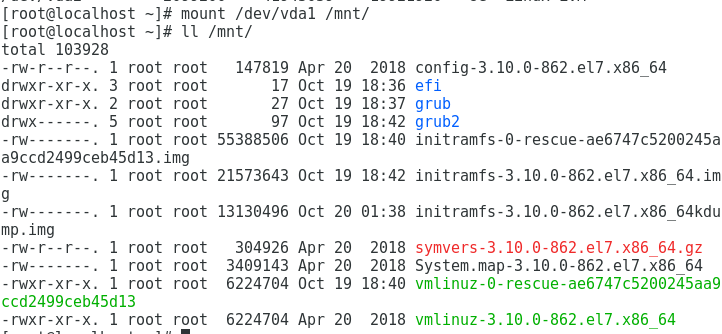
It is confirmed that partition 1 is only /boot so we have to do some more steps to mount the partition. If it were a standard partition we would mount it like this and run the chroot that we are going to run later. But as we have LVM in root we are going to run the additional procedure to mount LVM:
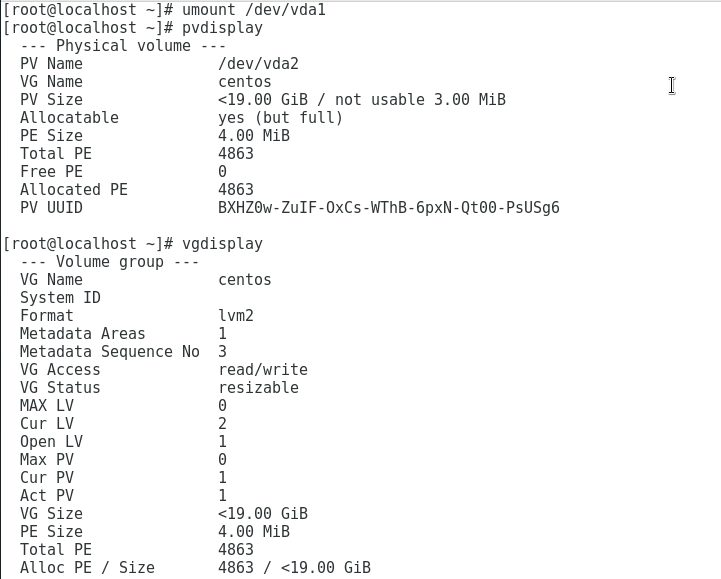
We unmount vda1 since we are not interested in it. Then we run pvdisplay to see the devices that have LVM. We see that in this case there is only one device with LVM. With vgdisplay we can see that we have a single volume group volume called centos as we will see in the following image, with lvscan we have 2 LVM volumes:
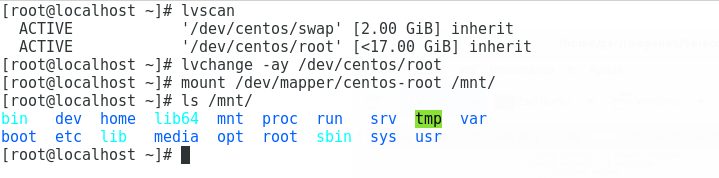
Run lvchange -ay volume to activate the LVM volume. Then we mount it (it will be in /dev/mapper as a new mapped device). By running ls on /mnt we can see what the operating system has.
SeLinux given troubles
Before continuing, in the case of CentOS we have to disable SeLinux to avoid problems. We check if it is active in the configuration:
![]()
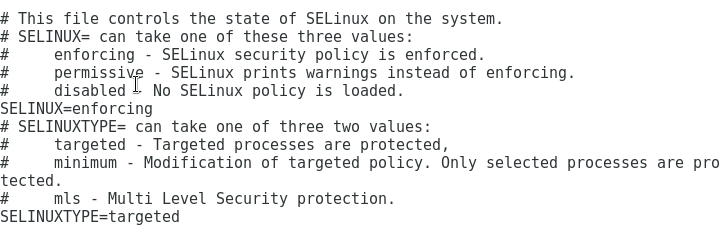
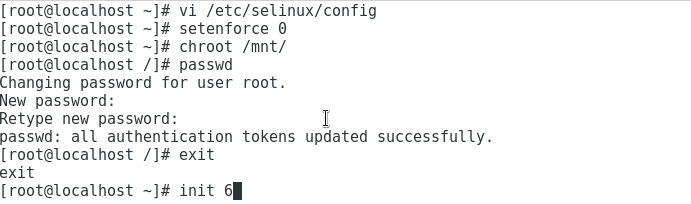
As it is active, we run the command setenforcing 0 to stop SeLinux. Then we can run chroot /mnt or chroot /mn /bin/bash which is where the device is mounted. After doing this, we can change the root password for the one we want since we are inside the system that we could not access. Then run exit to exit and reboot with init 6. It is important to note that we must have removed the ISO from the LiveCD or configure the bios to not boot from the LiveCD:
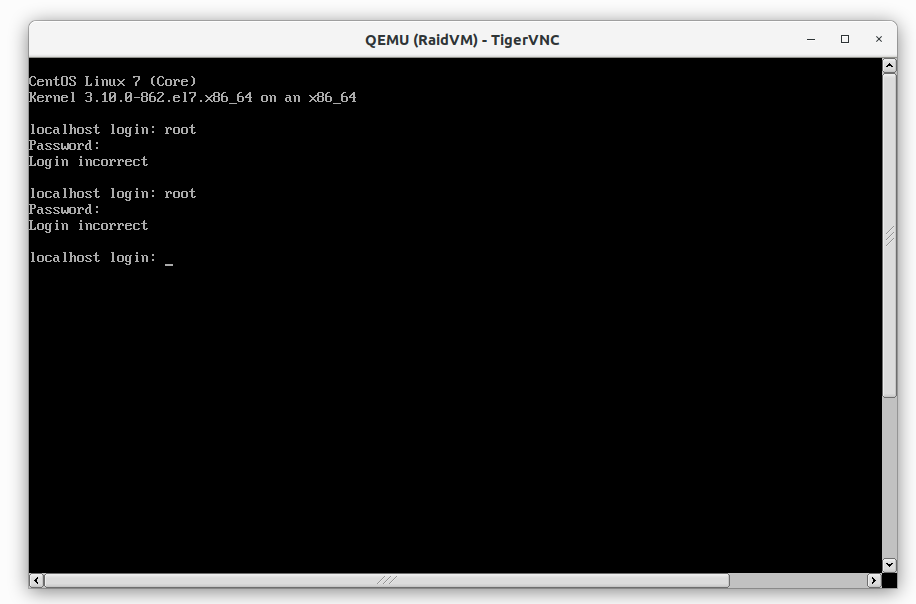
Now we can access with the password that we have established to the operating system to which we did not have access:

And that’s all. If you have any questions or doubts, leave a comment.
If you liked it, don’t forget to share the article in your social networks and/or comment.
See you soon!